
Upgrading a room’s light quality and energy bill is as simple as installing LED batten lights on a ceiling.
This guide will walk you through a step by step approach so you can plan, mount and wire fixtures correctly — and know when to call COMLED’s technical team for product specific support.
- Plan first — measure, map and choose fixtures
Measure the room and draw the ceiling layout before buying anything. Consider fixture length (2ft, 4ft, 5ft etc), mounting style (surface or suspended) and if you need IP rated or sensor versions. Good spacing prevents glare and dark spots — spacing depends on ceiling height and batten length; use on paper mockups or a quick daylight test to preview coverage.
- Choose the right mount and hardware for ceiling installs
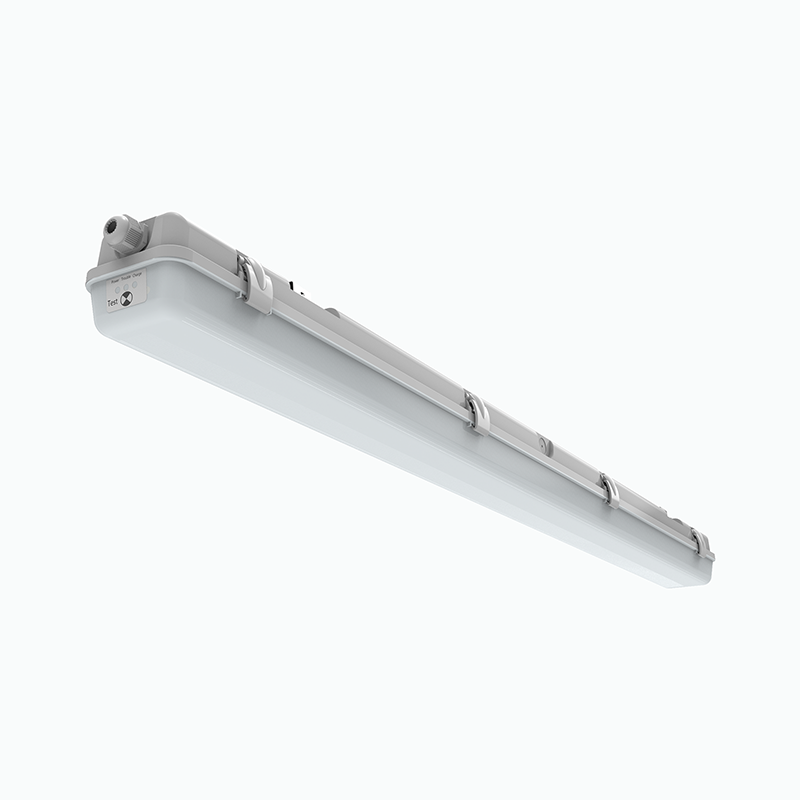
Most battens come with snap on brackets or clip mounts for surface or suspended mounting. For solid ceilings use the supplied screws and wall plugs; for suspended or grid ceilings use suspension kits or anchor points. If your COMLED model has a linkable or clip fixed driver design the mounting hardware usually lines up with the driver bay for easy access.
- Is the power off? Safety checklist before you touch wires
Turn off the circuit at the breaker and verify the feed is dead with a non contact tester. Label the circuit and keep the area well lit with a temporary lamp while you work. If you’re not familiar with local wiring rules contact COMLED’s technical/after sales team for installation advice specific to the model you bought — they can tell you if your batten is Class II (double insulated) or requires an earth connection.
Safety first note: many LED battens are easy to wire but local codes and earthing requirements vary — when in doubt get professional support.
- Typical wiring: live, neutral (and earth when present)
Most LED battens take live (L) and neutral (N); many also have an earth (E) terminal when the housing or installation requires it. Strip ~6-8mm of insulation, insert conductors into the correct terminal and tighten the screw firmly. Keep incoming cables neat and secure inside the ceiling junction box.
- Step by step ceiling install (practical sequence)
- Mark positions for brackets using your layout sketch.2. Drill and fix brackets or suspension anchors (use the right plugs/anchors for the ceiling type).
- Turn off power at the breaker and isolate the circuit.
- Prepare wiring in the ceiling box: identify live, neutral and earth.
- Wire to the batten terminal (L to L, N to N, E to E if required), tidy cable entries and secure terminals.
- Clip or snap batten into brackets; check mechanical fix.
- Turn on and test each fixture.
- Linking multiple battens & through-wiring tips
When you run multiple battens in a row, keep live and neutral continuity neat: use a junction or terminal block rated for the cable and current.
Label the first and last fixtures and test the whole run before closing ceiling access. This makes future maintenance simpler.
- Spacing, height and light uniformity for ceilings
For corridors, workshops or garages, aim for evenly spaced battens so light overlaps slightly; spacing rules depend on lumen output and ceiling height. Use a simple rule of thumb: lower ceilings need closer spacing. For precise targets (e.g., car parks or corridors), consult a luminaire spacing guide or a lighting plan.
- Common hiccups and quick fixes
- Flicker or dimming oddities: check driver compatibility and wiring polarity.
- Loose clips: swap to stronger anchors or add a safety cable.
- No earth on fixture: check if your model is Class II; if not, provide an earth per code.
- If issues persist, send photos and contact COMLED support — product-specific diagnostics often resolve the last-mile problems quickly.
- Efficiency, sensors and maintenance-friendly choices
Choose sensor-dimming or emergency-enabled battens if you need motion control or backup lighting. COMLED’s P-Series, for example, has IP-rated and sensor options that make installations in damp or industrial ceilings easier. Select clip-fixed drivers where possible — they speed up driver swaps and reduce long-term maintenance time.
- When to call the pros (or COMLED’s tech team)
If the ceiling has concealed junctions, multi-way switching or the circuit layout is unclear, stop and ask for technical help. Instead of a generic “see an electrician” line, contact COMLED’s after-sales/technical team with model details and photos — they’ll provide wiring diagrams and installation tips for your specific batten model.
Final thoughts — practical checklist before you finish
- Power isolated and tested? ✔
- Brackets rigid and fixtures clipped? ✔
- Terminals tight and cable entries sealed? ✔
- Lighting layout tested for evenness? ✔
- If all good, enjoy the better light and lower energy consumption. And remember: keep the product model and driver info handy so future maintenance or warranty questions are quick to resolve.